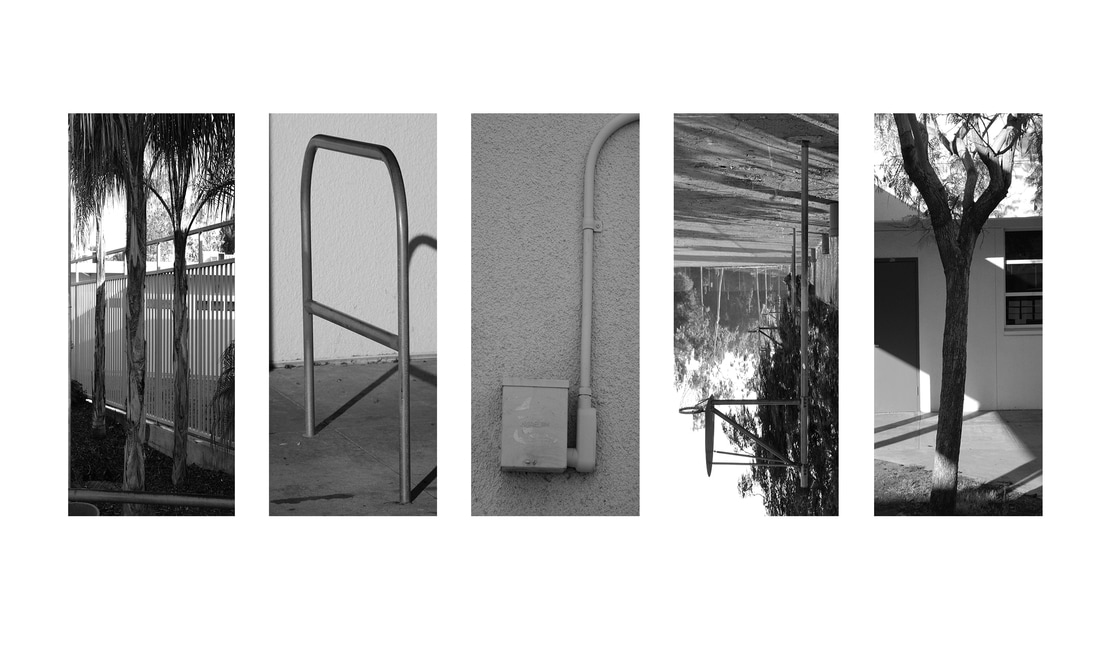
 The steps I used in Photoshop to create the image is I first cropped and changed the color of the images in iPhoto. This later helped me figure out the correct sizing of the letters in the frame without the images looking squished. The first thing I did in Photoshop was I picked out the correct template according to how many letters there are in my name. I chose the template name 5 and dragged this to the Photoshop icon. I then dragged the image of my first letter and fit the photo frame and clicked the check when I was happy with the placement. I repeated this step for a all of my letters, but with both of the D letters, I did image-transform-flip horizontal to make sure the lowercase d was a d and not a b. After I flipped the letter, I then merged the layers using layer-merge visible. When I was done with the placing of the letters, I saved the image as a Photoshop file and jpeg to my desktop.
At first, I was unclear how to fully fit my letters into the template without them looking distorted, but then I cropped them in iPhoto and it worked. Taking the photos was not as difficult as I thought it would be, because when I thought of a letter, it was easy to spot out shapes of them. Trying the get the best angle possible was a challenge, but I moved my body/ used zoom and took the photo, which came out looking like the letter. I was proud that I zoomed and cropped the images correctly without any struggle. I was able to easily capture the shape that I wanted to show without having a blurry image. What I like best about my artwork is the various elements that I used to create the letters. Although, the first and last letter are of both trees, I thought it was a way of connecting my name all together through the first and last being the same elements. What I could have improved on is the light exposure in the images. Some pictures have a dark background, making the letter difficult to see at first.
0 Comments
When I Get Older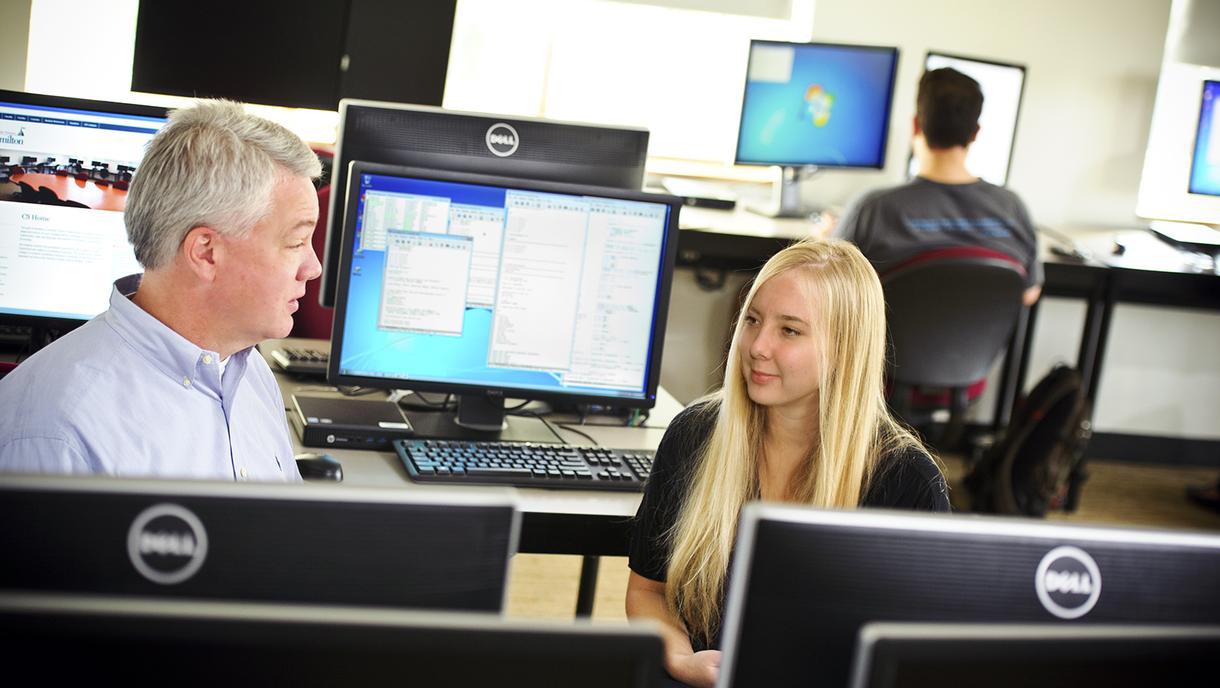 This is myself in 10 years as a computer scientist. I want to be a computer scientist because I would love working in a field where very title women are found, swell as working with computers. In 10 years I have a steady income and a husband. I will be eating healthy and having a strong family relationship with my loved ones. When I am not at work, I am training for a half marathon and potentially having my first child. In the image above, I am in an office for a major corporation, brainstorming new innovations for the company. With a Celebrity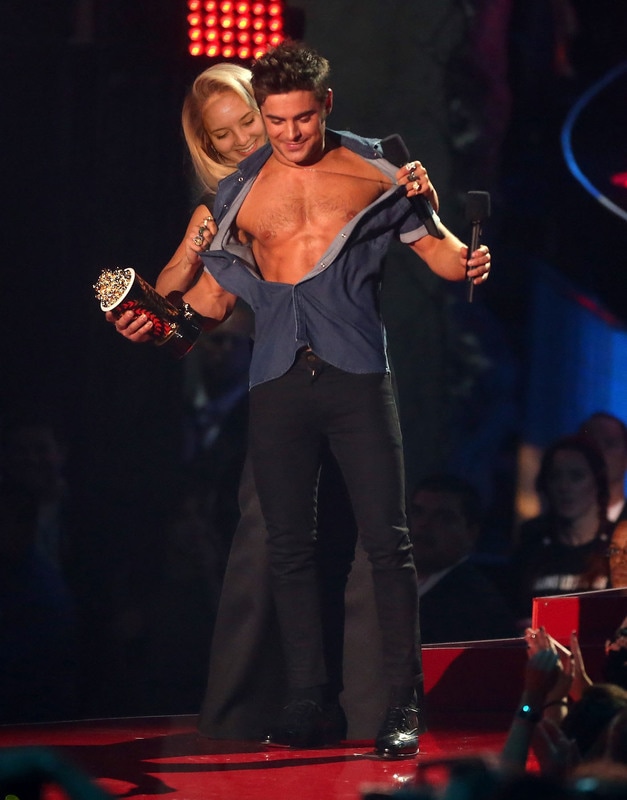 I am with Zac Efron in the image above. He just won an award for best shirtless appearance and for some reason I felt the urge to rip off his shirt. Photoshopping my face onto Rita Orta's, I would be the one who presented the award to him, instead of her. Wanting to show the crowd what exactly he won the award for, I wanted to take the opportunity while I had it. I went behind him and as casual as possible, began to take the top off. I chose this image because I thought it would be a fun little twist, due to myself being nothing close to the sorts. I am not usually as optimistic as Rita Orta, so I thought I would take the chance to show a different side of me that is out of the norm. Exercise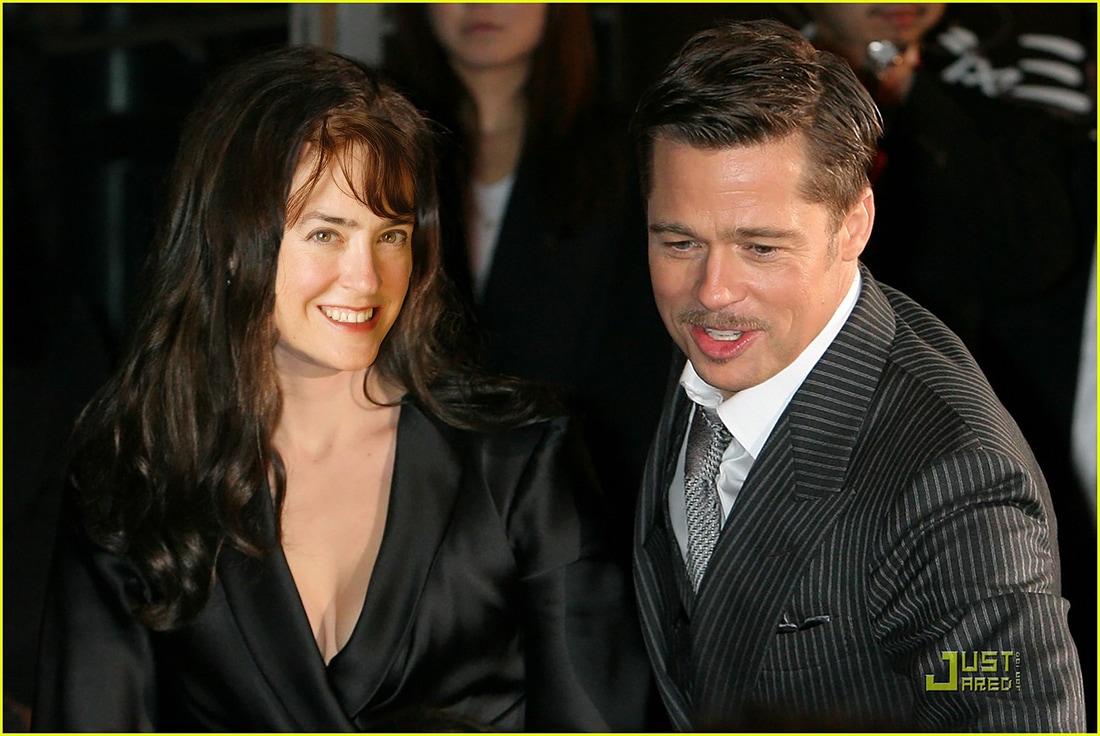 Steps in Photoshop:
1. I found an image that I wanted to photoshop my face onto. I did this through google images and used the advance search "large" to make sure the image was not grainy or too small. 2. I then saved the photo to my desktop and dragged the image to the photoshop icon. 3. After dragging the first image to the icon, I then dragged the image of myself to the icon. 4. To make sure the picture was not too small or too large, I went to image-imagesize-resolution-300 for both images. For the image of myself, I changed the height to 3 and for the one I wanted to photoshop, changed the height to 6. 5. I then dragged the image of myself by grabbing the top bar, and placed this on top of the image I wanted to photoshop myself onto. 6. I used the lasso tool to cut out my face and used the move tool to place the image on top of the face I wanted to change. 7. I then changed the opacity to 60% and began to do my image transformations. 8. When I was satisfied with my image, I changed the opacity back to 100% and created a layer mask. 9. I created the layer mask by clicking on the mask tool at the bottom of the page to create a new layer. 10. I chose the paintbrush tool and change the top color rectangle to black 11. By changing this to black, I am able to use the paintbrush as an eraser, but if i messed up, I changed it to white and was able to paint on what I erased. 12. When i was satisfied with the cut, I then changed the color balance and brightness/contrast to adjust the skin tone. 13. When that was completed, I merged the layers (layer-merge visible) and saved the image as a jpeg to my desktop and classroom folder. I also saved the image as a photoshop file onto my desktop. |
AuthorMaddy Cuppett, an exploring, excited photography student in the learning. Archives
June 2017
Categories |
 RSS Feed
