When I Get Older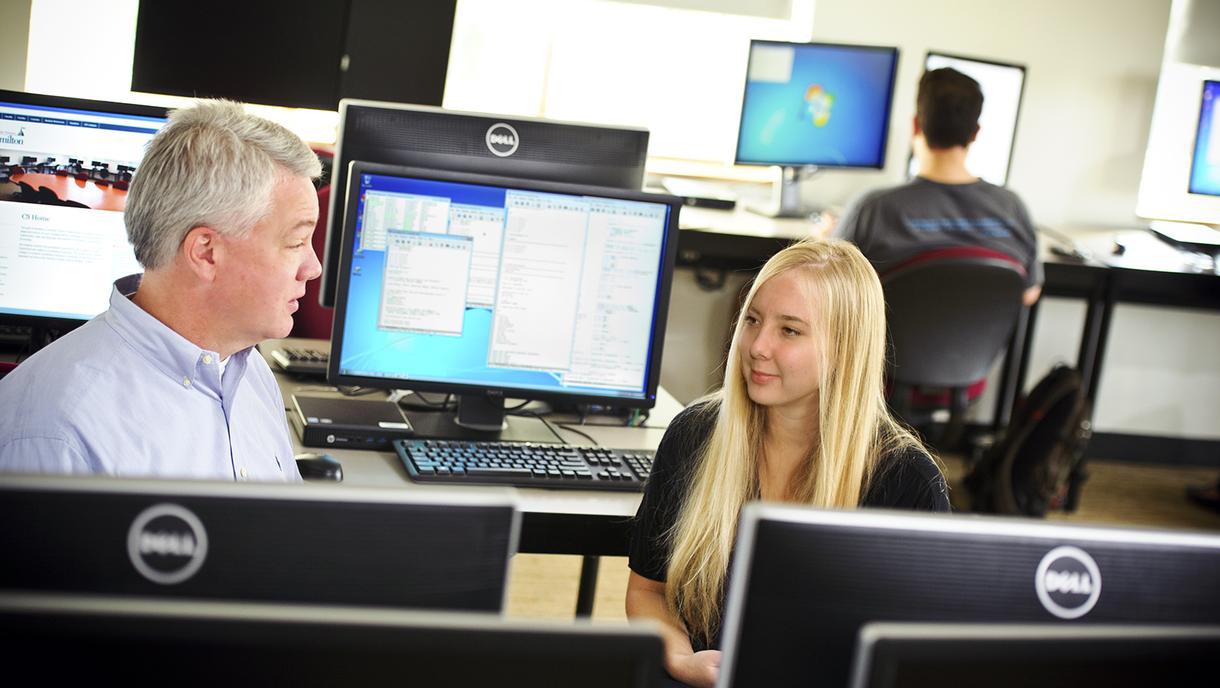 This is myself in 10 years as a computer scientist. I want to be a computer scientist because I would love working in a field where very title women are found, swell as working with computers. In 10 years I have a steady income and a husband. I will be eating healthy and having a strong family relationship with my loved ones. When I am not at work, I am training for a half marathon and potentially having my first child. In the image above, I am in an office for a major corporation, brainstorming new innovations for the company. With a Celebrity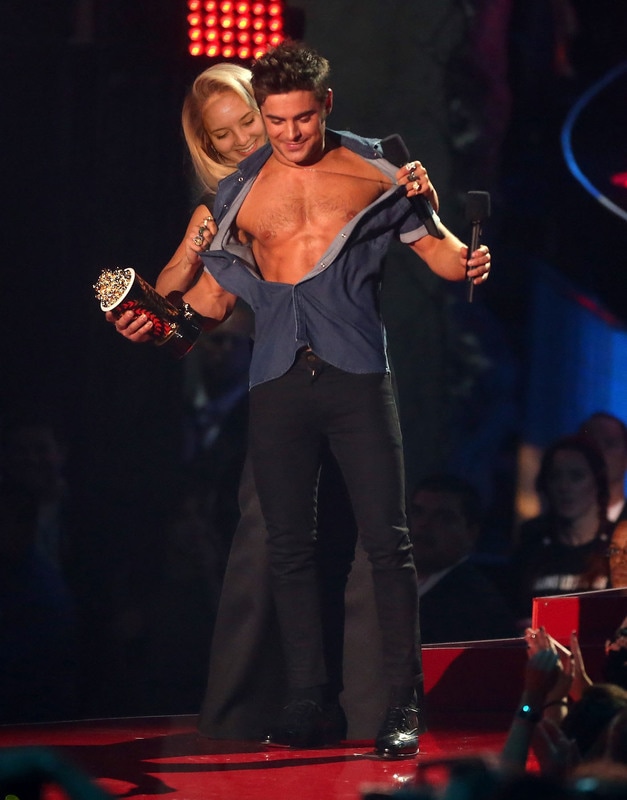 I am with Zac Efron in the image above. He just won an award for best shirtless appearance and for some reason I felt the urge to rip off his shirt. Photoshopping my face onto Rita Orta's, I would be the one who presented the award to him, instead of her. Wanting to show the crowd what exactly he won the award for, I wanted to take the opportunity while I had it. I went behind him and as casual as possible, began to take the top off. I chose this image because I thought it would be a fun little twist, due to myself being nothing close to the sorts. I am not usually as optimistic as Rita Orta, so I thought I would take the chance to show a different side of me that is out of the norm. Exercise Steps in Photoshop:
1. I found an image that I wanted to photoshop my face onto. I did this through google images and used the advance search "large" to make sure the image was not grainy or too small. 2. I then saved the photo to my desktop and dragged the image to the photoshop icon. 3. After dragging the first image to the icon, I then dragged the image of myself to the icon. 4. To make sure the picture was not too small or too large, I went to image-imagesize-resolution-300 for both images. For the image of myself, I changed the height to 3 and for the one I wanted to photoshop, changed the height to 6. 5. I then dragged the image of myself by grabbing the top bar, and placed this on top of the image I wanted to photoshop myself onto. 6. I used the lasso tool to cut out my face and used the move tool to place the image on top of the face I wanted to change. 7. I then changed the opacity to 60% and began to do my image transformations. 8. When I was satisfied with my image, I changed the opacity back to 100% and created a layer mask. 9. I created the layer mask by clicking on the mask tool at the bottom of the page to create a new layer. 10. I chose the paintbrush tool and change the top color rectangle to black 11. By changing this to black, I am able to use the paintbrush as an eraser, but if i messed up, I changed it to white and was able to paint on what I erased. 12. When i was satisfied with the cut, I then changed the color balance and brightness/contrast to adjust the skin tone. 13. When that was completed, I merged the layers (layer-merge visible) and saved the image as a jpeg to my desktop and classroom folder. I also saved the image as a photoshop file onto my desktop.
0 Comments
Leave a Reply. |
AuthorMaddy Cuppett, an exploring, excited photography student in the learning. Archives
June 2017
Categories |
 RSS Feed
