One Inch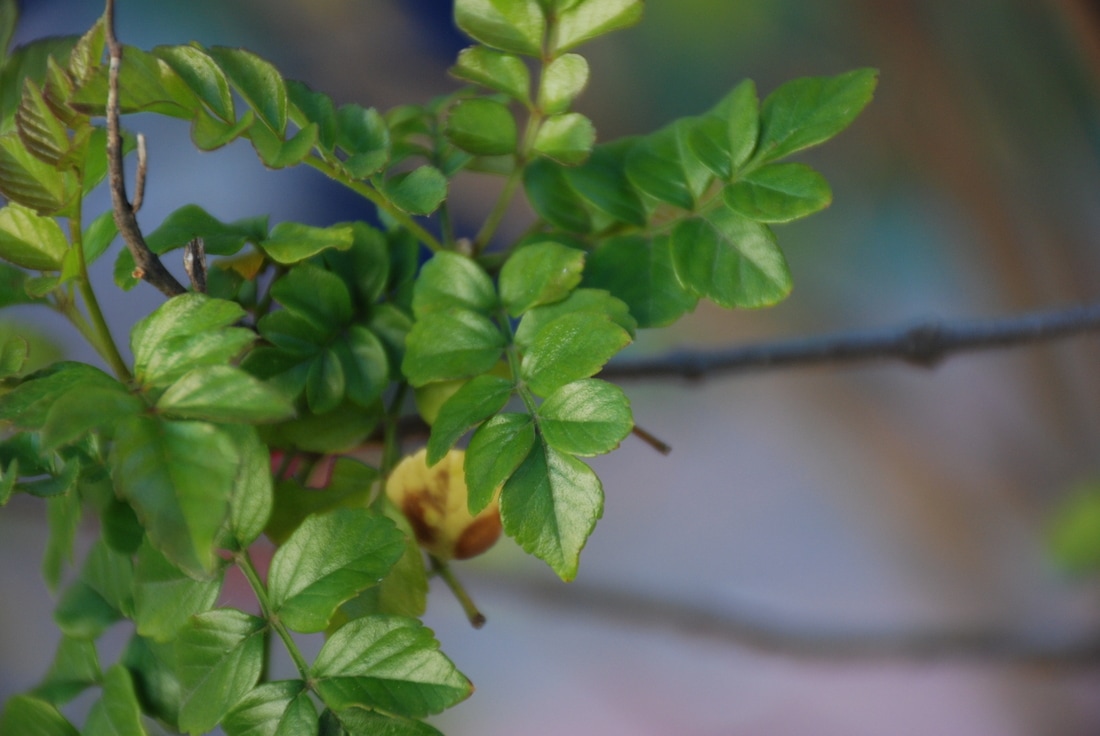 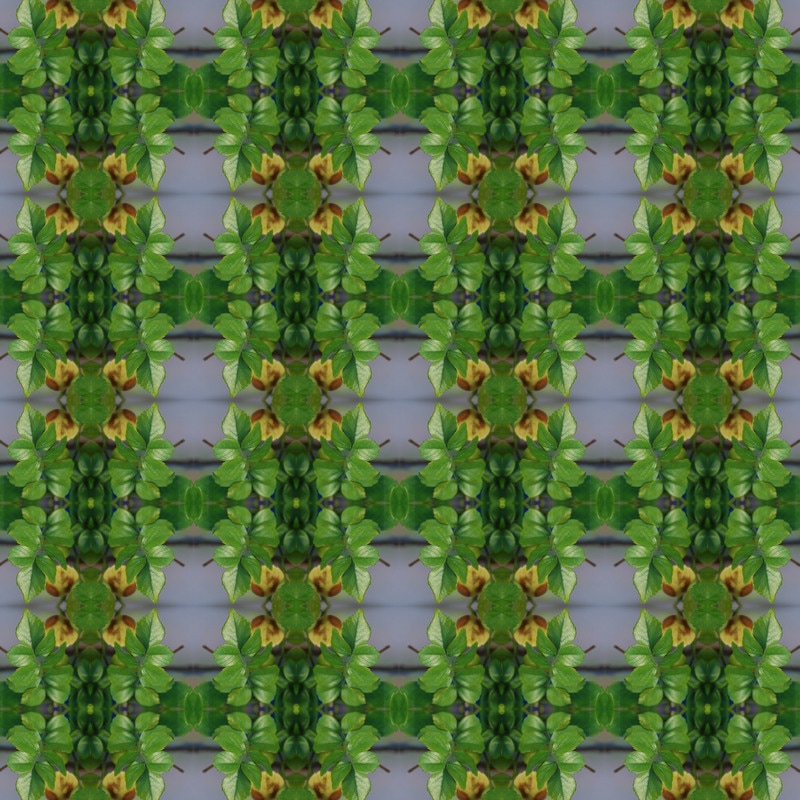 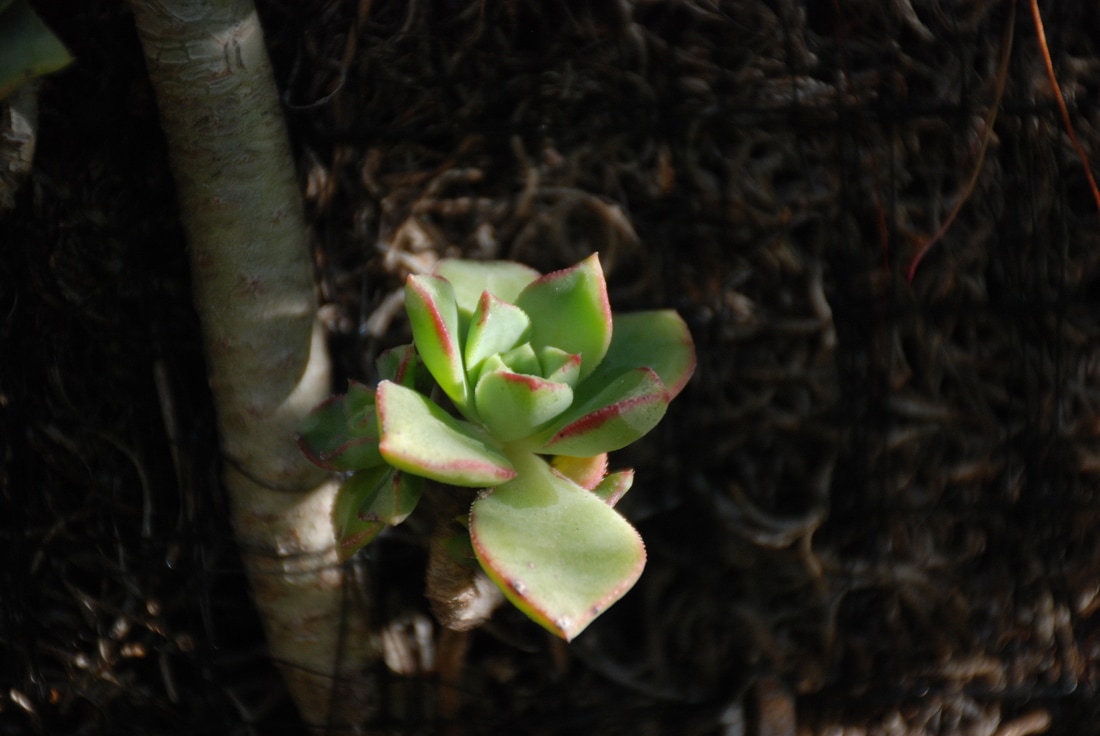 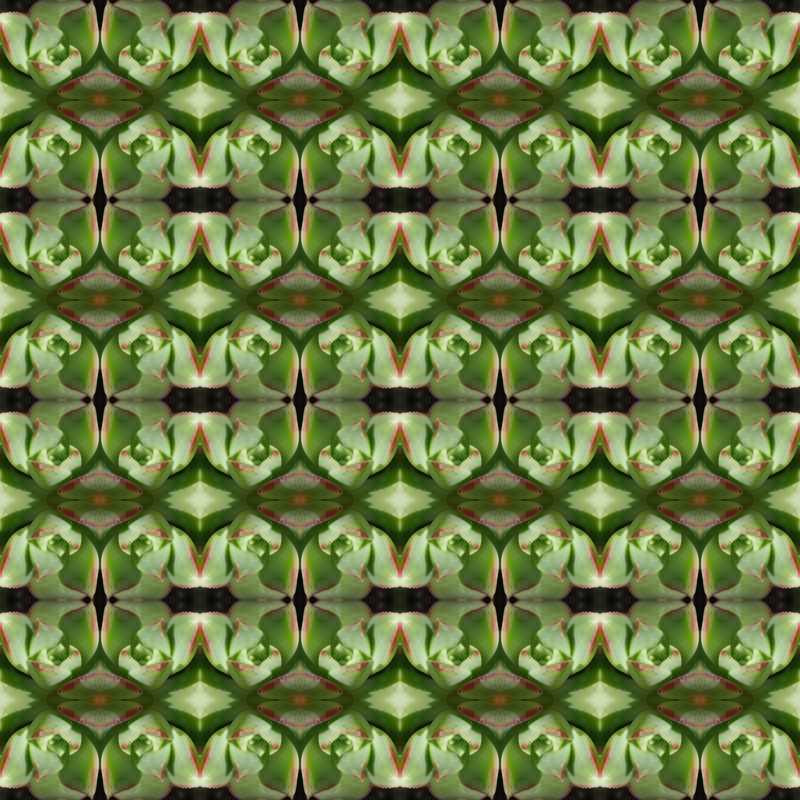 Two Inch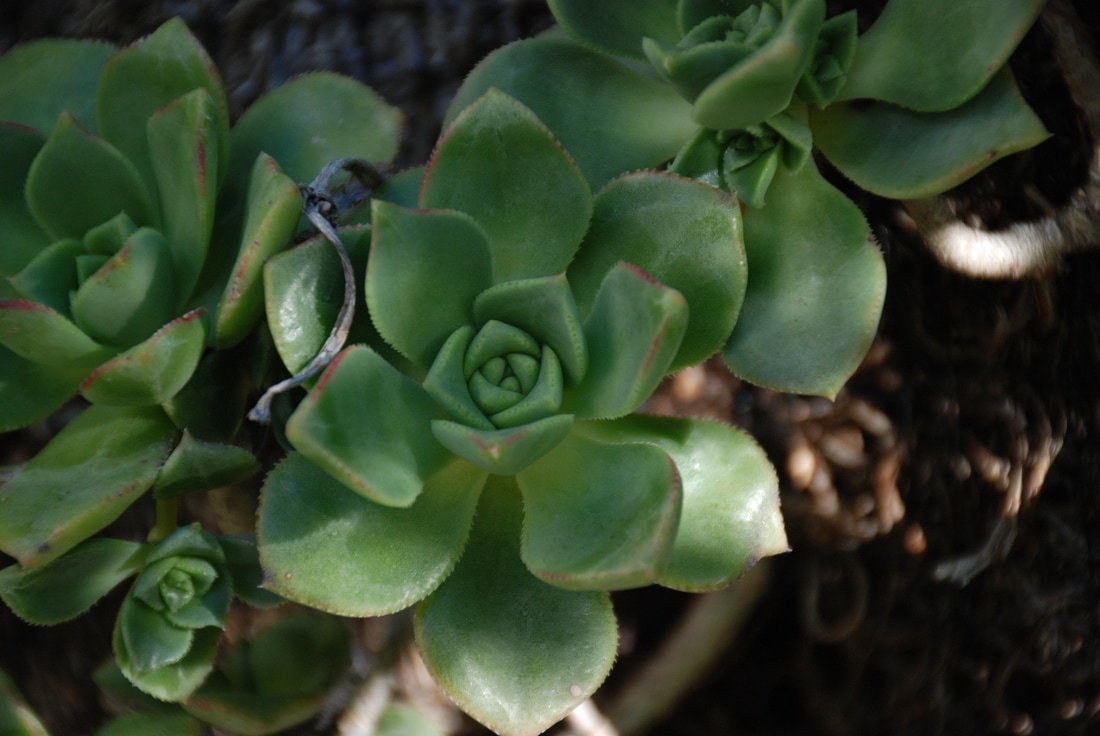 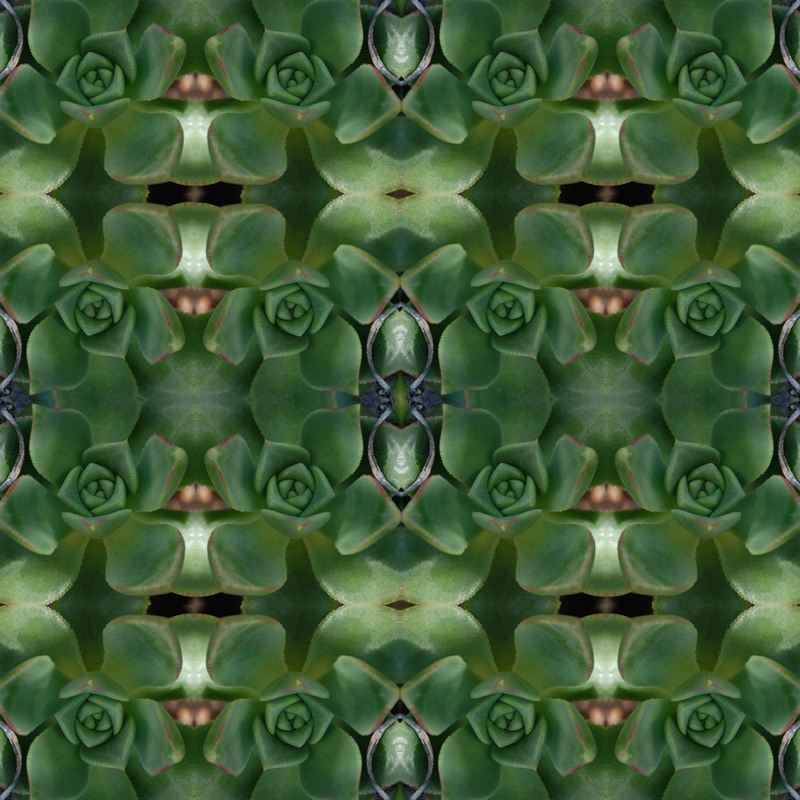 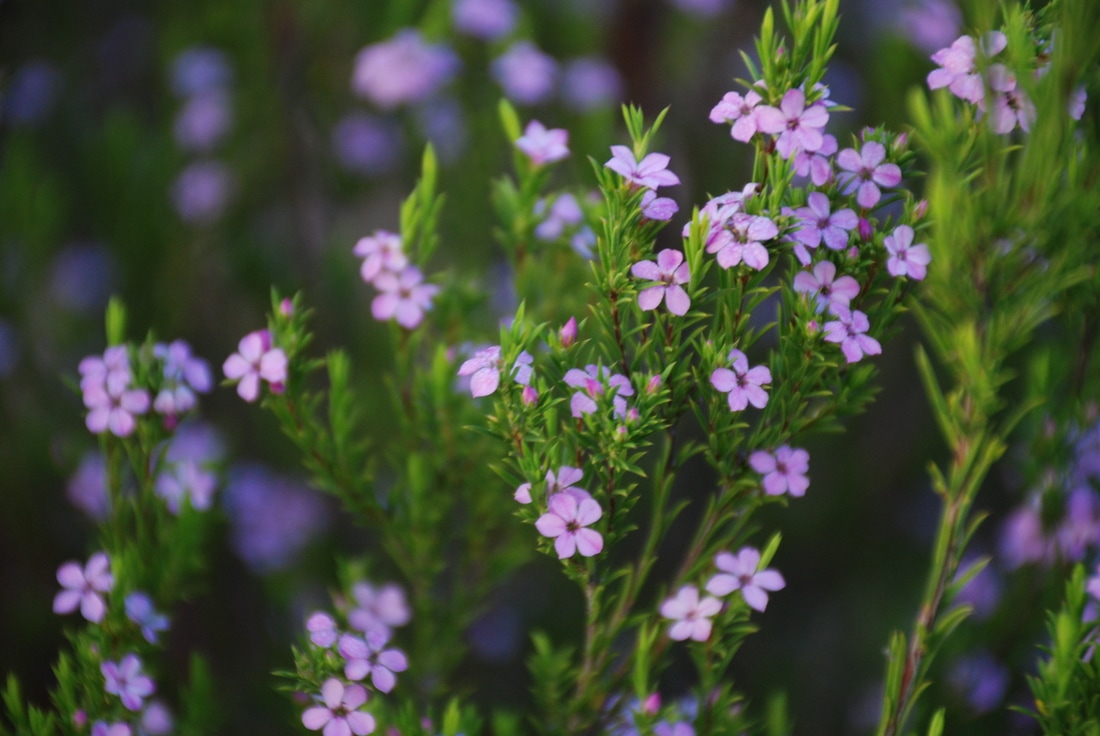 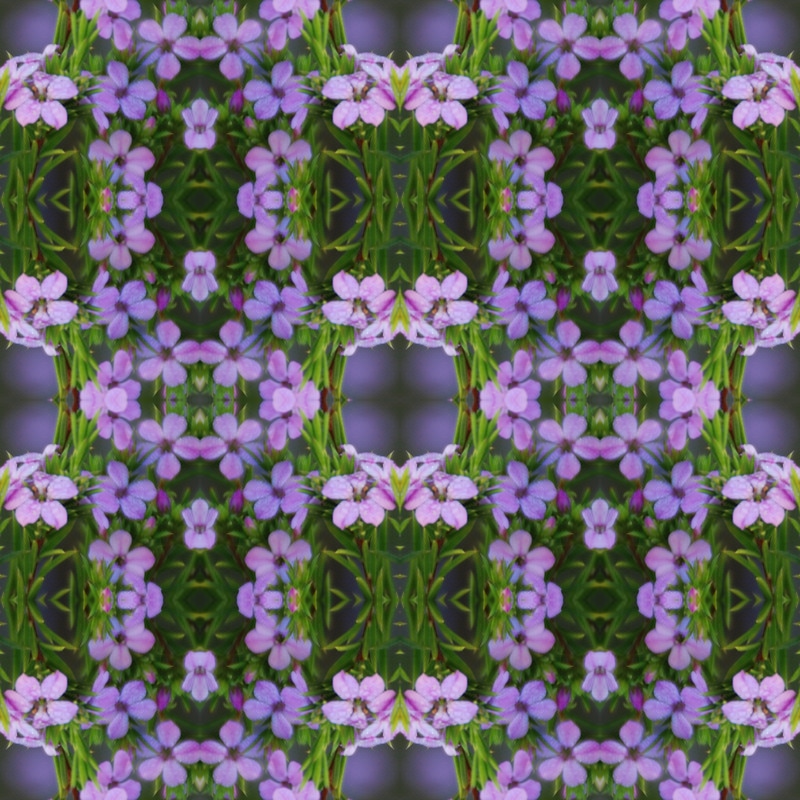 Four Inch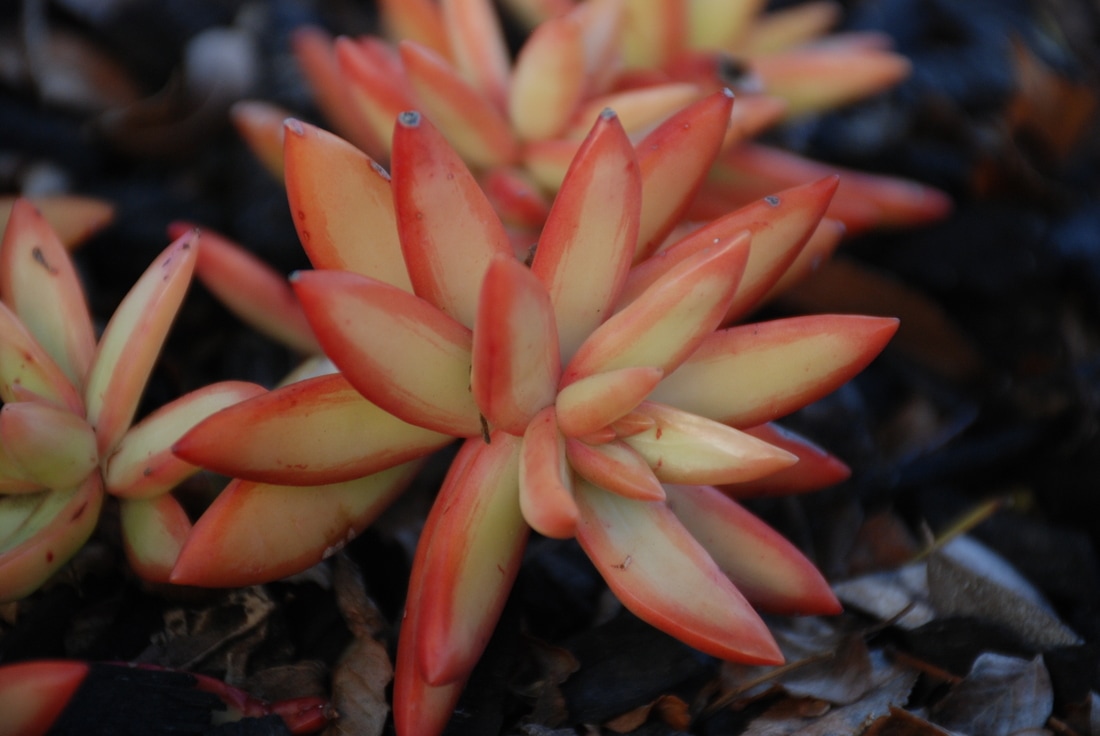 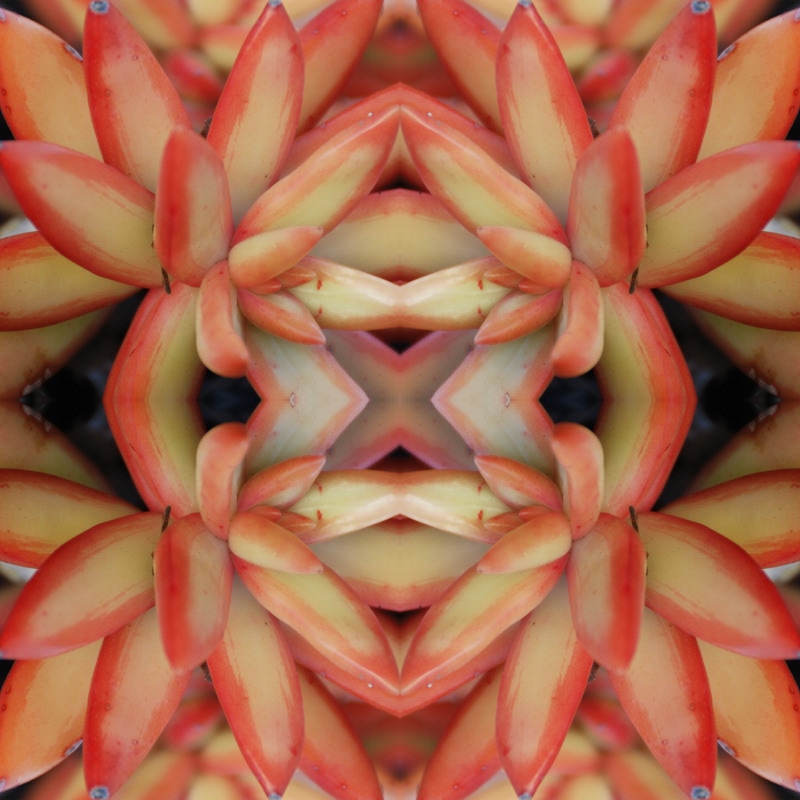 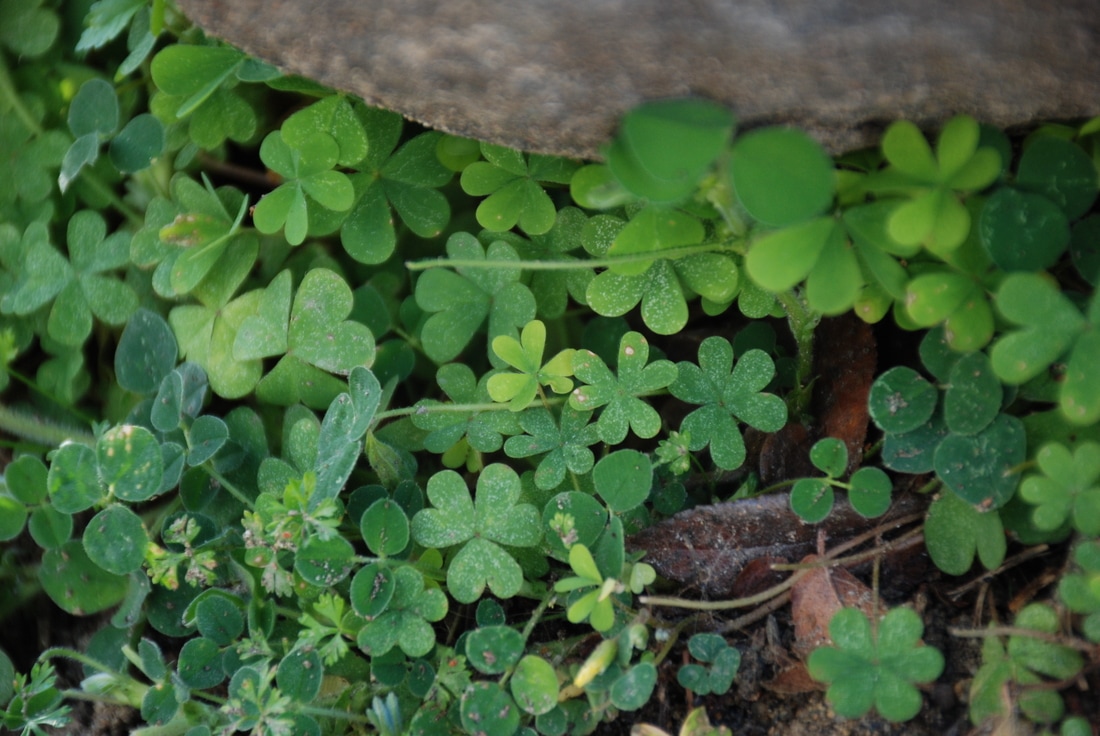 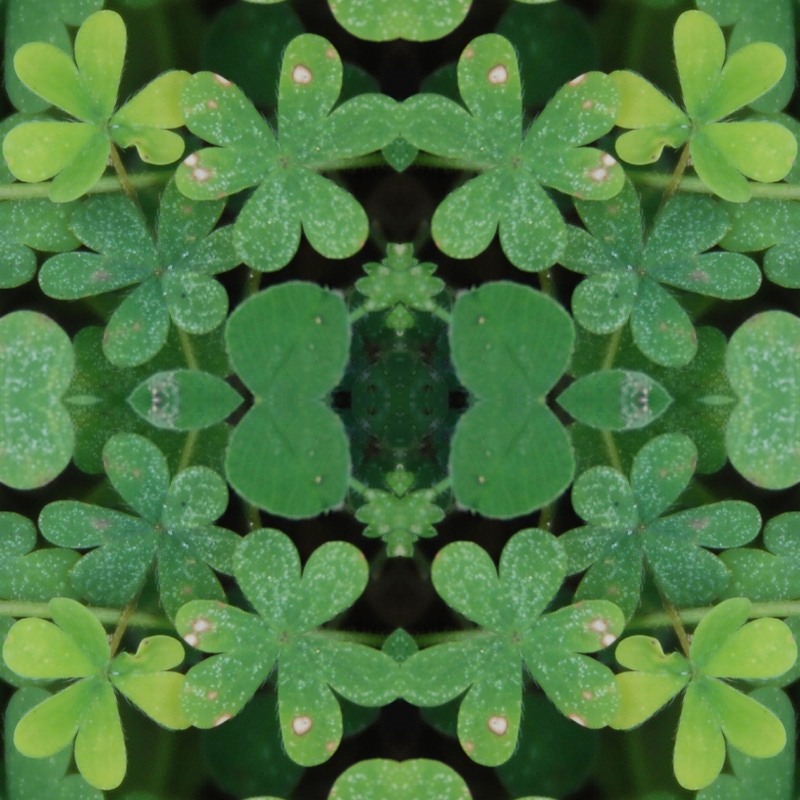 A tessellation is an image made of shapes that are tightly placed next to one another, in which a pattern is made without any empty space showing. I created my tessellation through photoshop and used micro images that I took of flowers and other plants. In order to create the tessellation I had to first make a template in which I could place the cropped image to fit in the 8 inch frame. I created this by going to file-new. I then used the ruler tool to make the guides for the image placement. I used the ruler by going to view-ruler. Once that was turned on, I used the move tool to place the guides in a horizontal and vertical manner to create the box shapes. When the guides did not place to the exact increment I wanted, I went to view-new guide and put the inch value and put horizontal or vertical and then pressed enter. Once I finished the template, I moved on to cropping the image that I wanted to use. I dragged my photo to the Photoshop icon, which popped up in photoshop as a new file. I then used the crop tool to crop the part of the image that I wanted to use. I made sure the image was going to be 1:1 square shape. After I found the part of the image I wanted, I pressed the check mark, and then I changed the image size to fit the template. For instance, for the four inch template, I changed the image size to 4"x4" so the picture could fit in the guides. I then dragged the top of the tab of the cropped image over to the template. Using the move tool, I moved the image to the top left box. I then went to layer-duplicate layer. I moved the duplicated layer to the top right and went to edit-transform-flip horizontal. I then made sure the image was in the right spot by using the purple guide lines. I then duplicated the top left image again and moved it to the bottom right of the template. I went to edit-transform-flip vertical. I repeated both of these steps for the bottom right. I duplicated the top left image, moved it to the bottom right, went to edit-transform-flip horizontal, then flipped vertical. I then moved the guides to made sure there was not white showing, once I saw that the image was a tessellation, I cleared the guides, merged the layers using layer-merge visible, and saved the image to my desktop and common drive. I liked the tessellations because I was unsure what the image would end up looking like, until the end of the tessellation process. My favorite image was my four inch tessellation of the orange flower. My favorite color is orange so I liked how the vibrant colors played off of one another as they were reflective. At first I struggled with making sure the image was following the guides, but after using the purple lines and understanding them, I got the hang of not having white gaps in my photo. If I had to do this project again, I would take images at different angles to really get a tessellation that looked cool. An image that once placed in a tessellation form, would be hard to recognize what the image was originally.
0 Comments
Leave a Reply. |
AuthorMaddy Cuppett, an exploring, excited photography student in the learning. Archives
June 2017
Categories |
 RSS Feed
